How to manually change your skins on PC
How to change your skins on mobile Pocket Edition (PE)
How to change your Minecraft skins on PC
1. Make sure the game is not running while changing your skin. Go to 9minecraftskin.com and simply select from the millions of skins shared and uploaded by our community.
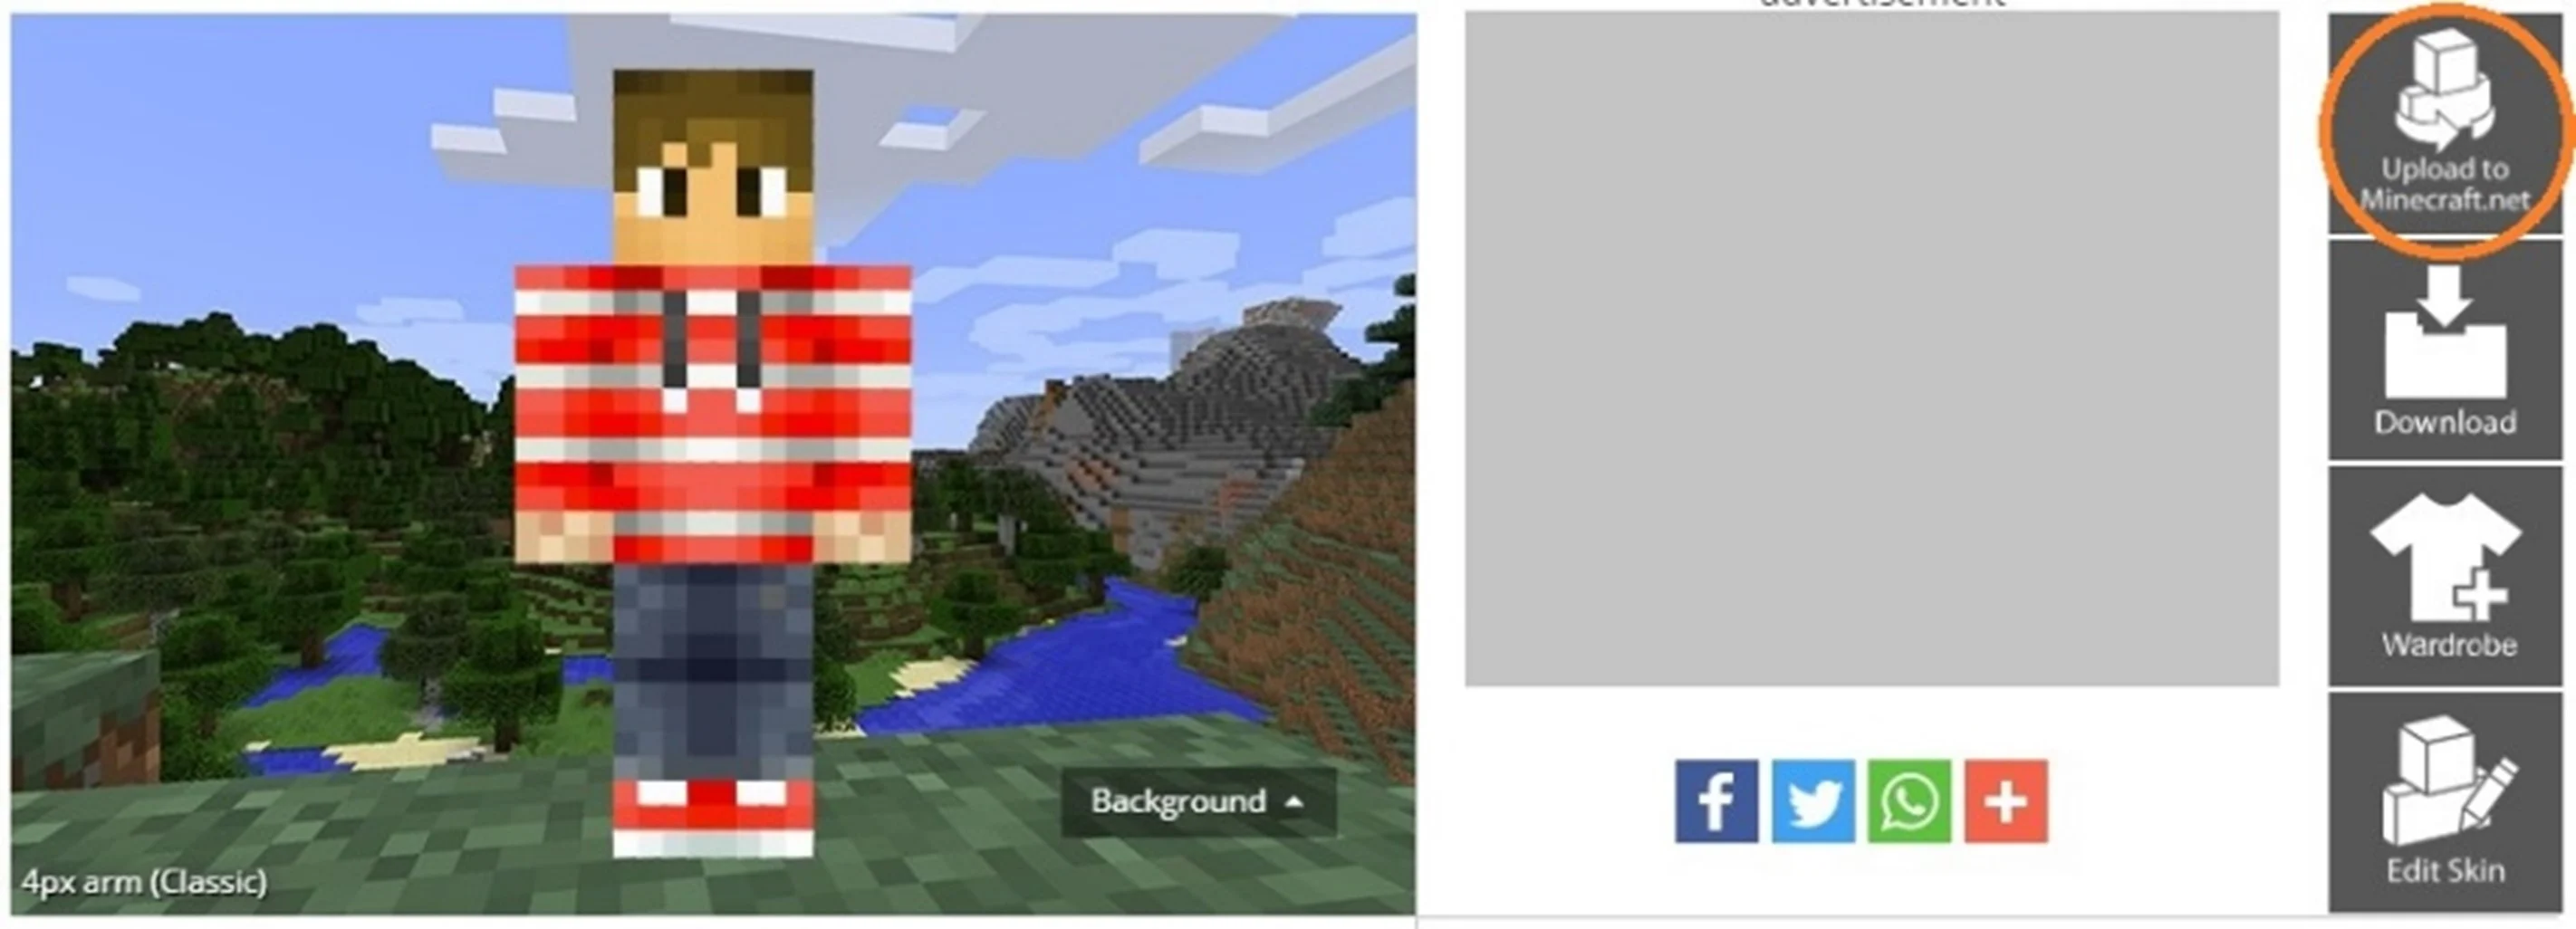
2. After deciding on a skin, enter the skin page of your choice, you will find the “Upload to Minecraft.net” button on the right side of the page. Click on it.
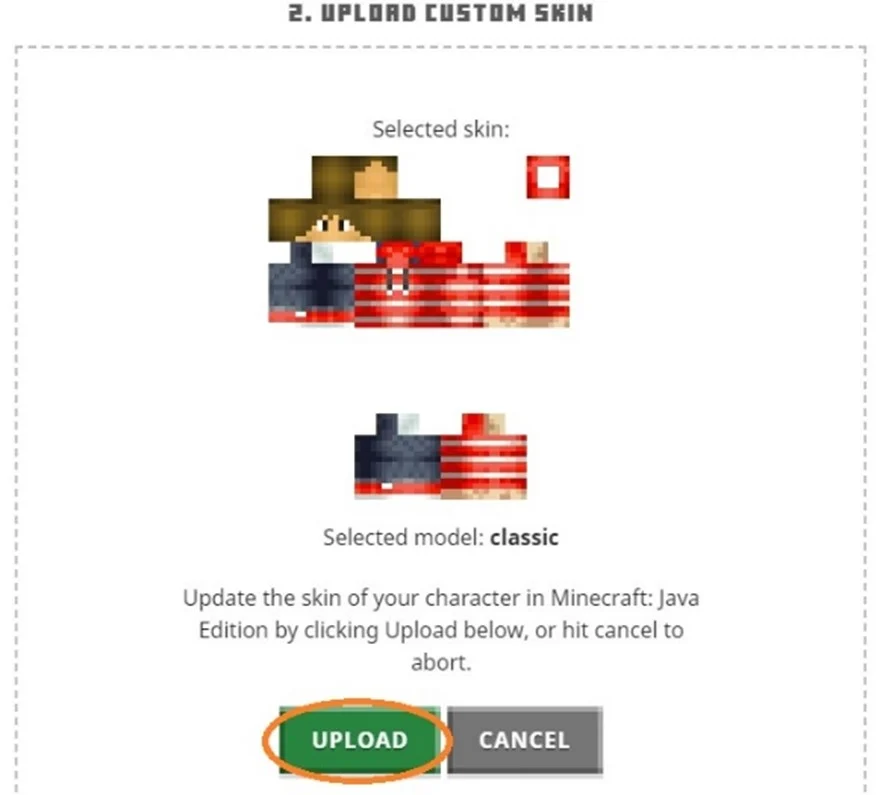
3. A new page will open up to Minecraft.net. Proceed to log in to your account and you will see your chosen skin already loaded onto the “Upload Custom Skin” box. Click on the “Upload” button.
4. And you are done! Load up the game and you should be wearing your new skin!
How to manually change your Minecraft skins on PC
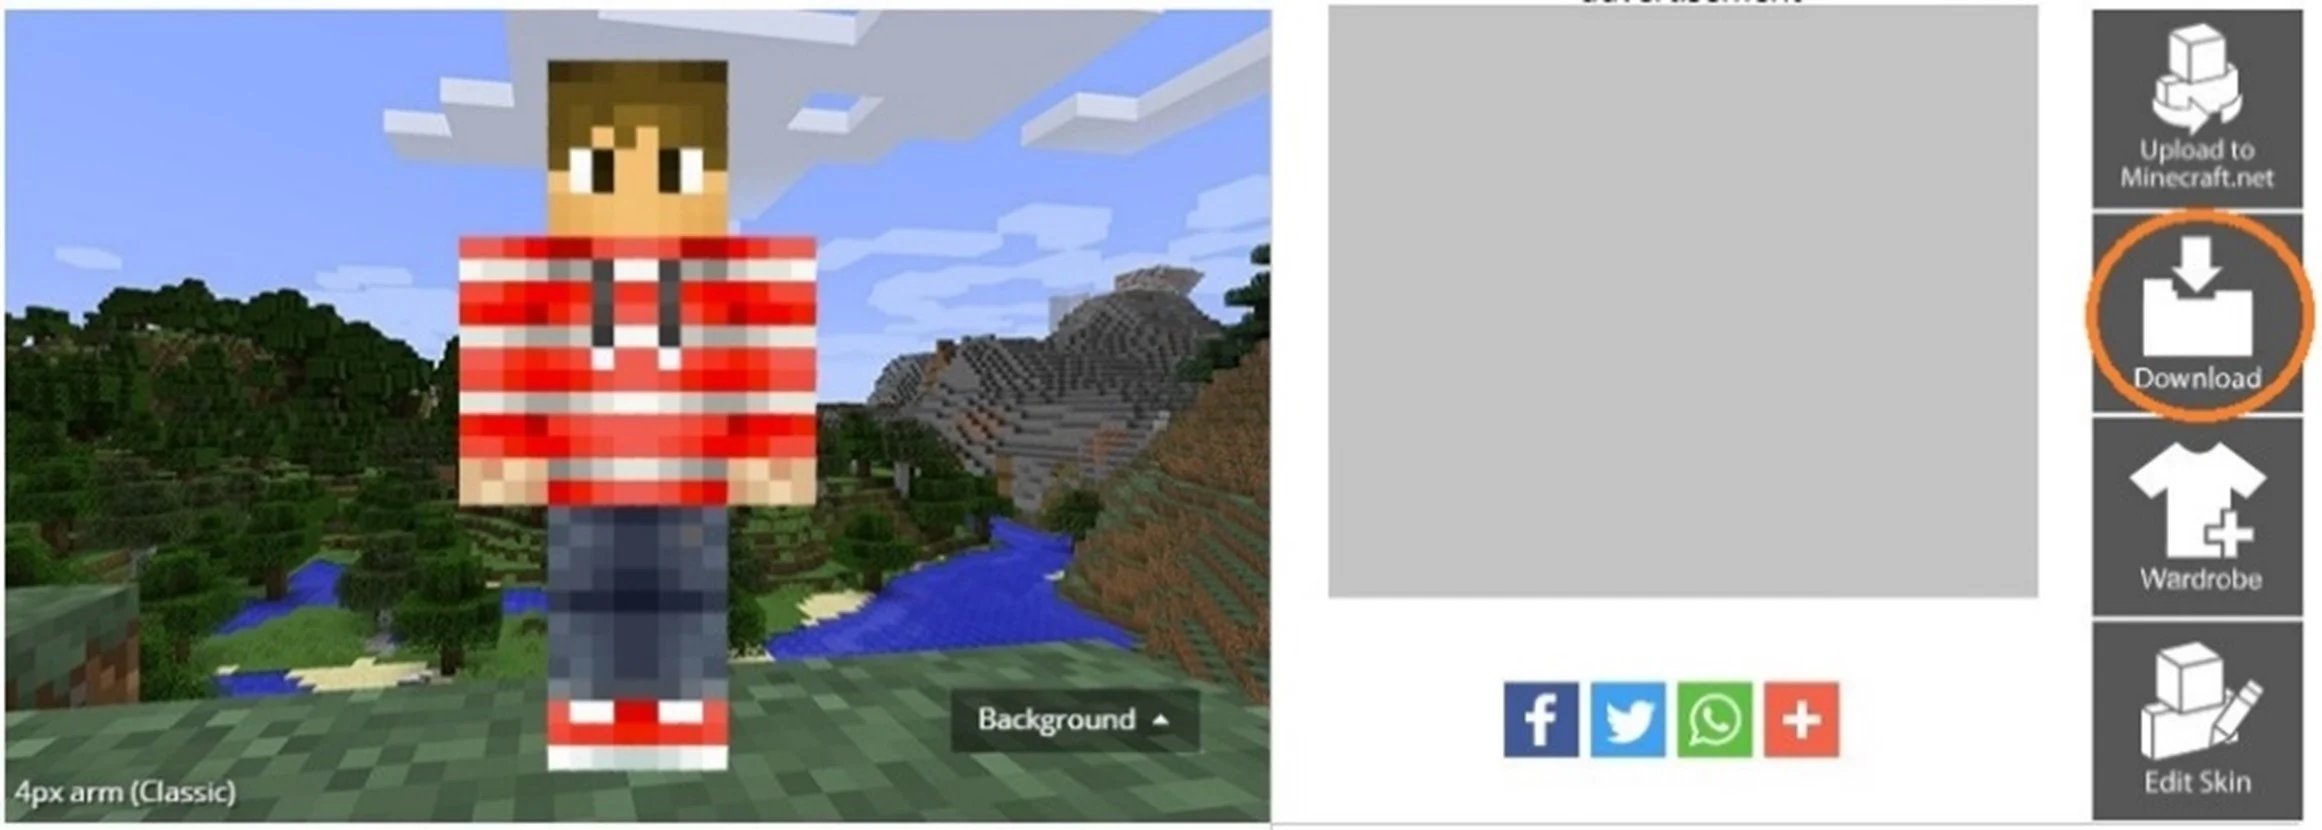
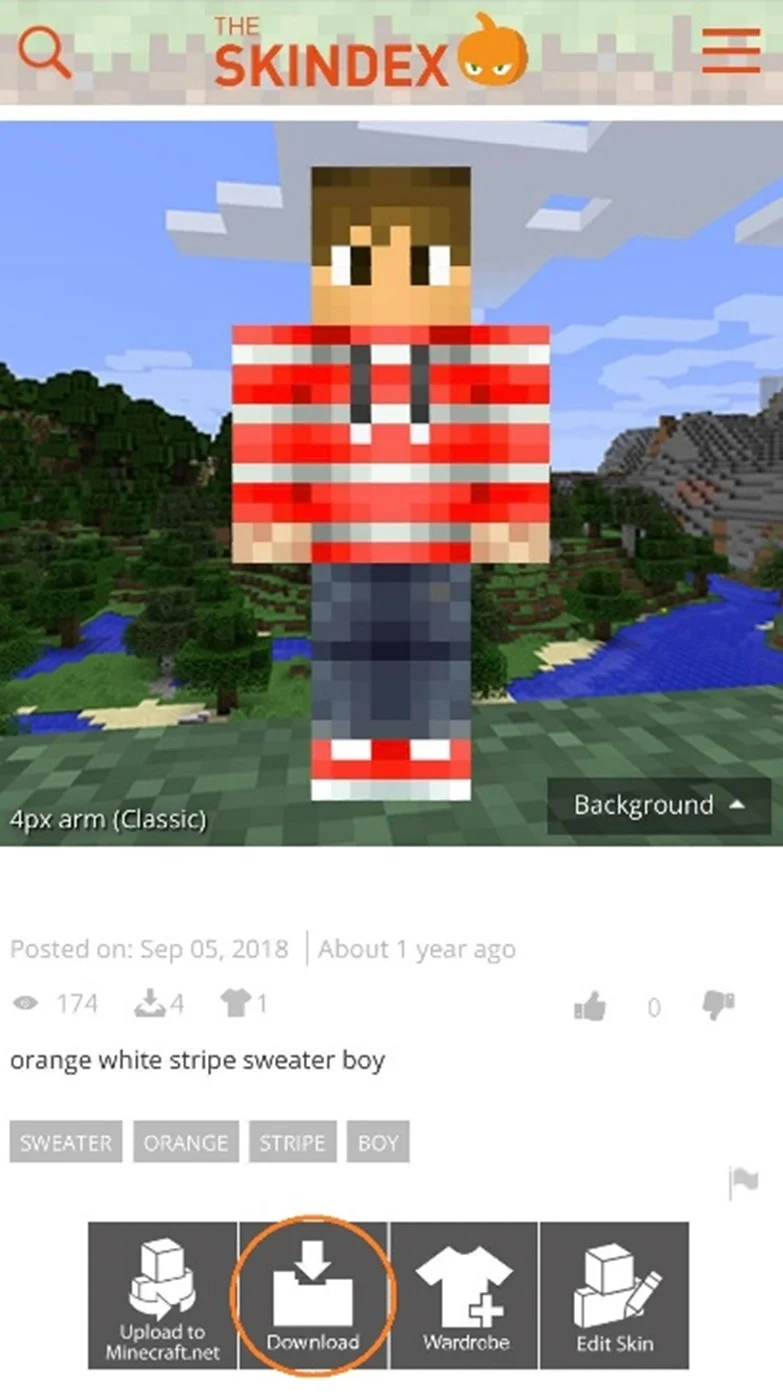
1. After entering the skin page of your choice, you will find the “Download” button on the right side of the page. Click on it.
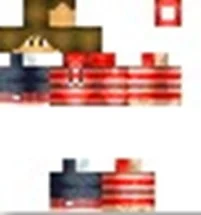
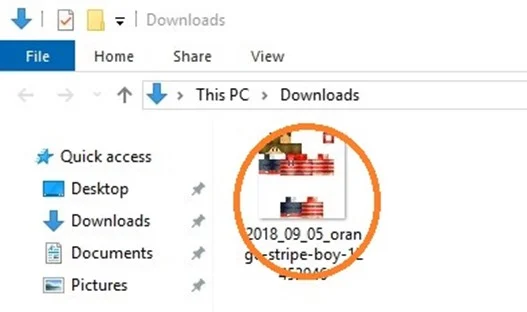
2. The .png image skin file that looks like this will be downloaded onto your computer.
3. Go to https://minecraft.net/en-us/profile/skin and proceed to log in to your Minecraft.net account.
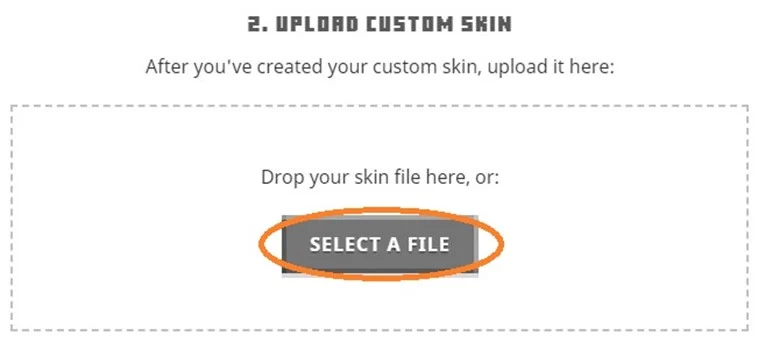
4. After logging in, you will see “2. Upload Custom Skin” click on “Select a File”.
5. A window pop up will appear, proceed to double click on the .png image skin file you have just downloaded.
6. You should see the skin file loaded onto the website. Click on the “Upload” button.

7. Load up the game and you should be wearing your new skin!
How to change your Minecraft skins on mobile Pocket Edition (PE)
1. Using your mobile device, simply go to 9minecraftskin.com and select from the millions of skins for your character in the game.
2. After deciding on a skin, enter the skin page of your choice, scroll down the page and you will find the “Download” button just below the skin model. Click on it.
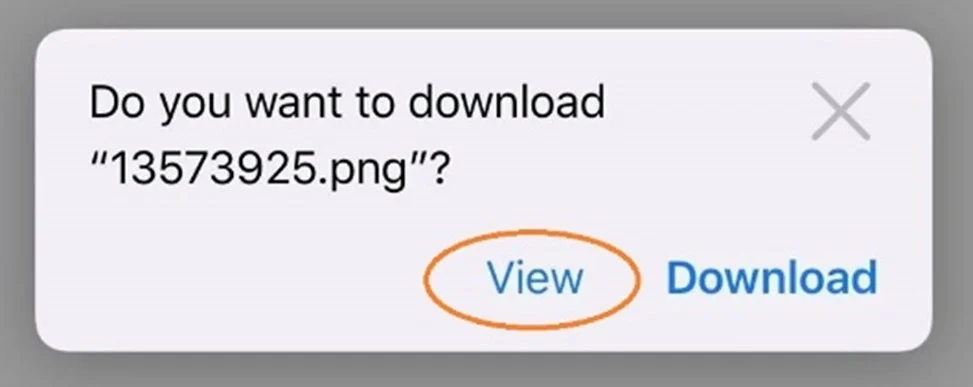
3. A new window will open within your mobile browser and ask if you want to View or Download the image. Select View.
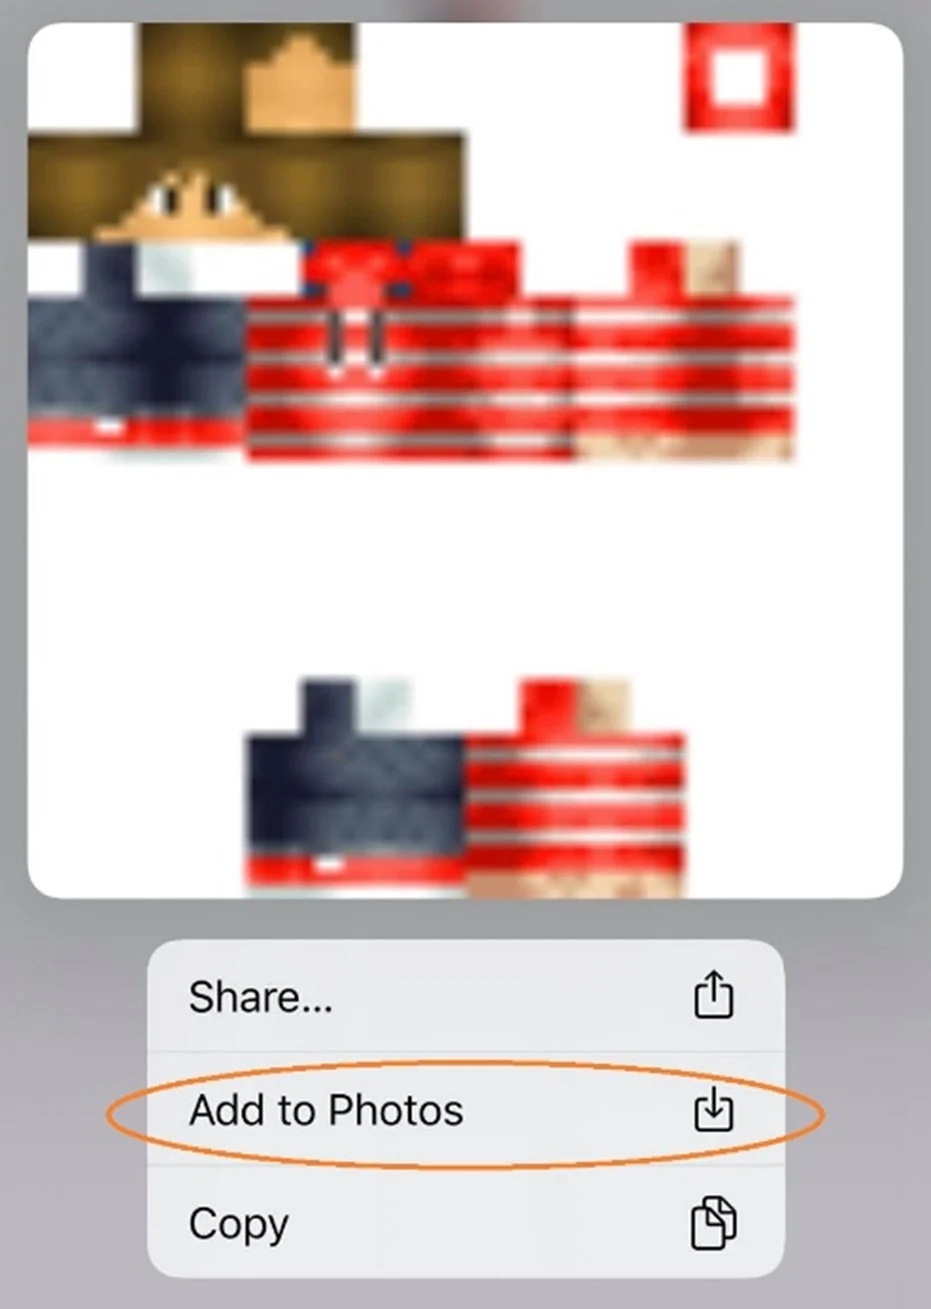
4. Place and hold your finger on the image for 2 to 3 seconds and you should be prompted to “Share”, “Add to Photos” or “Copy”. Select “Add to Photos” and the skin file will be saved into your Photo album on your device.
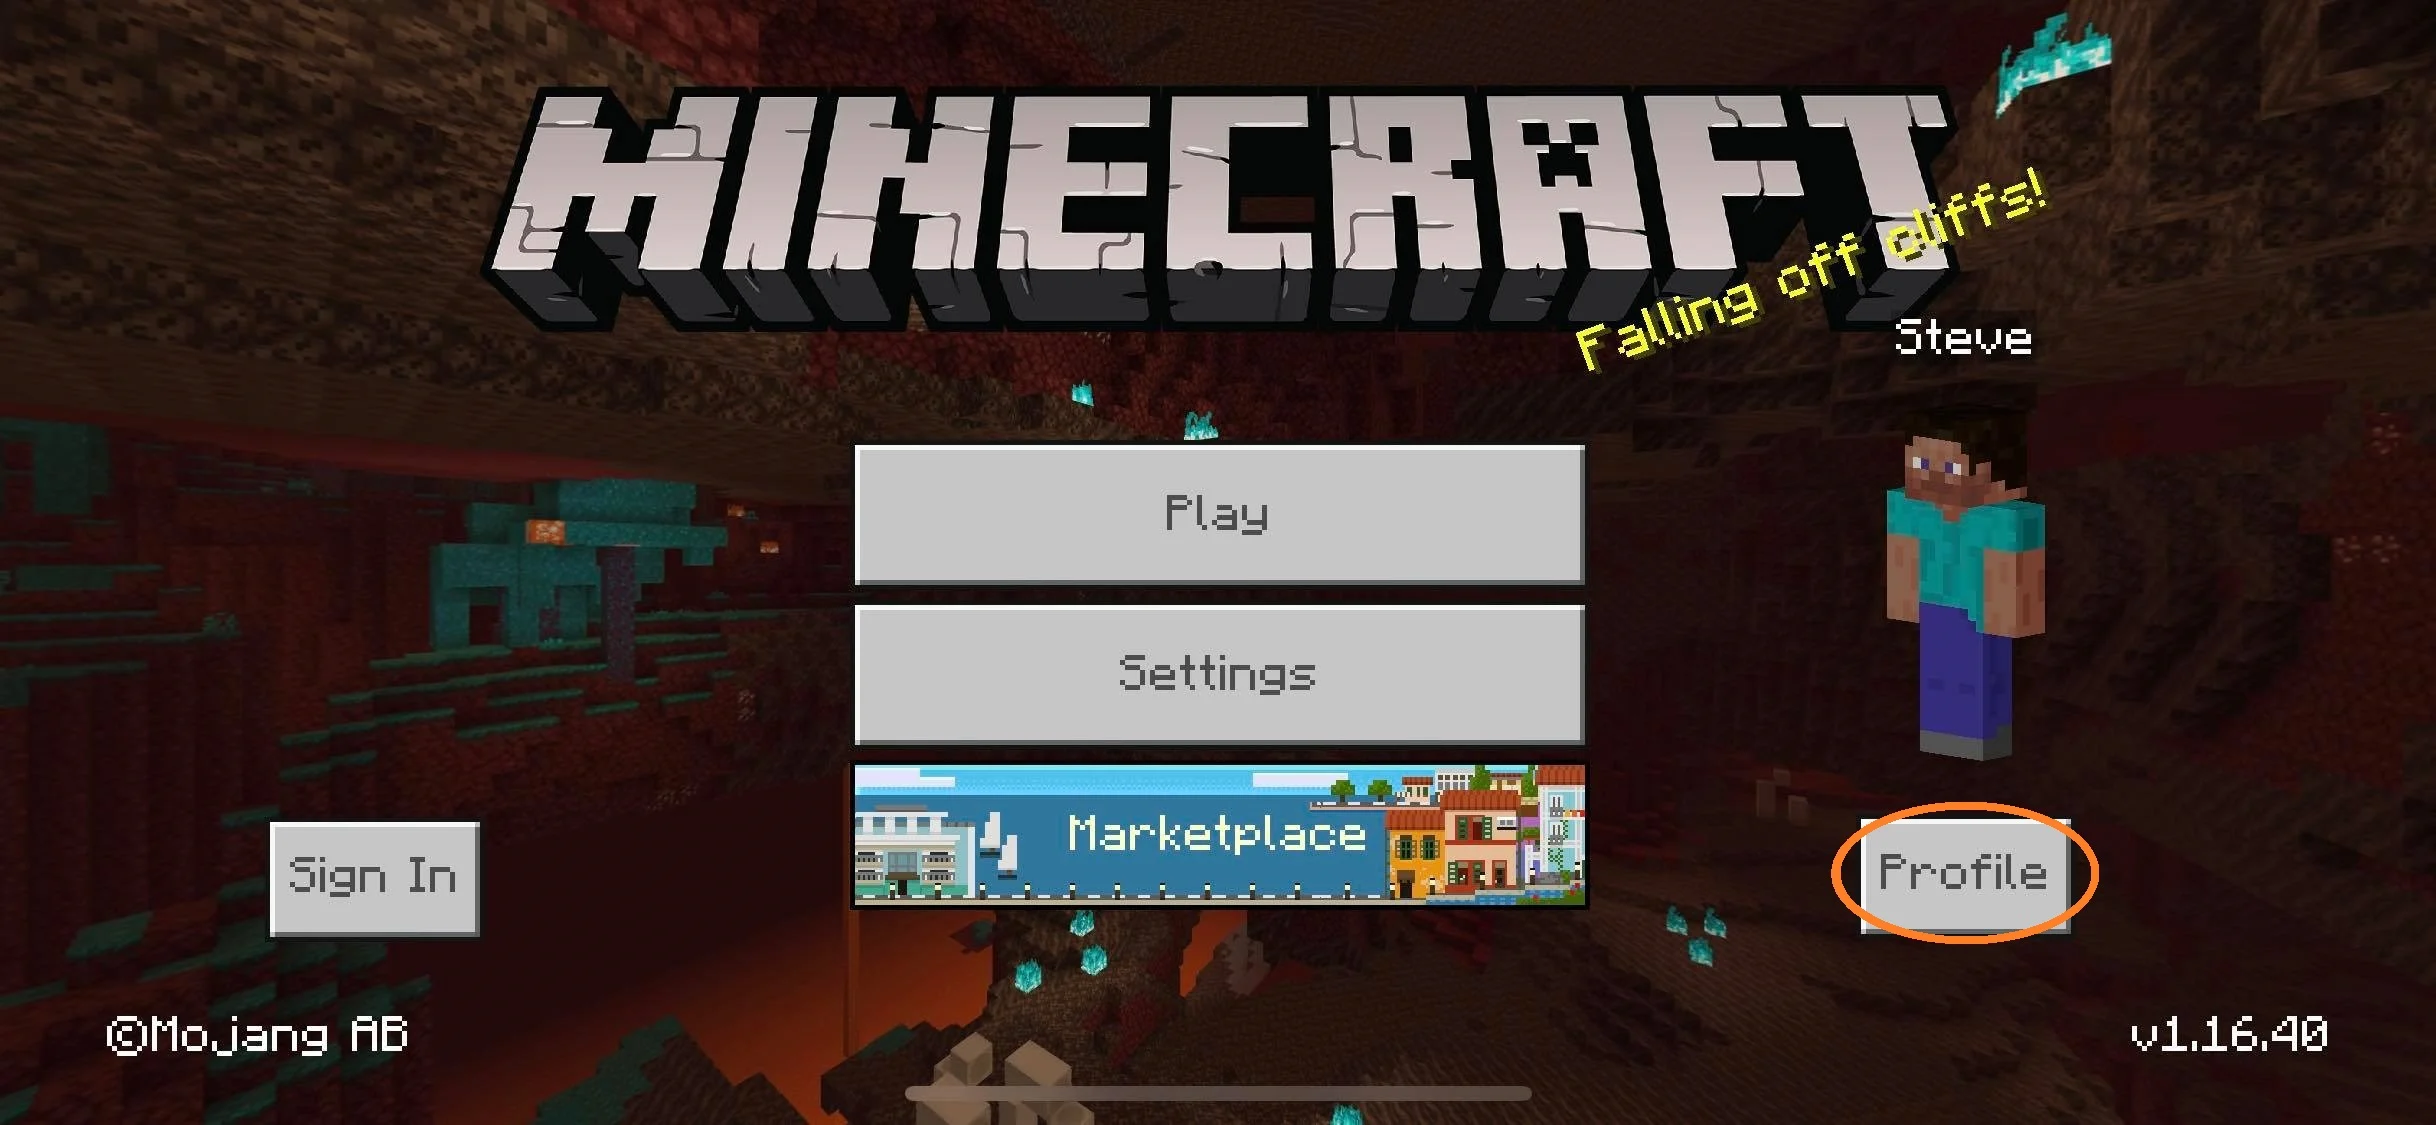
5. Go to the Minecraft App game, click on the Profile button on the lower right.
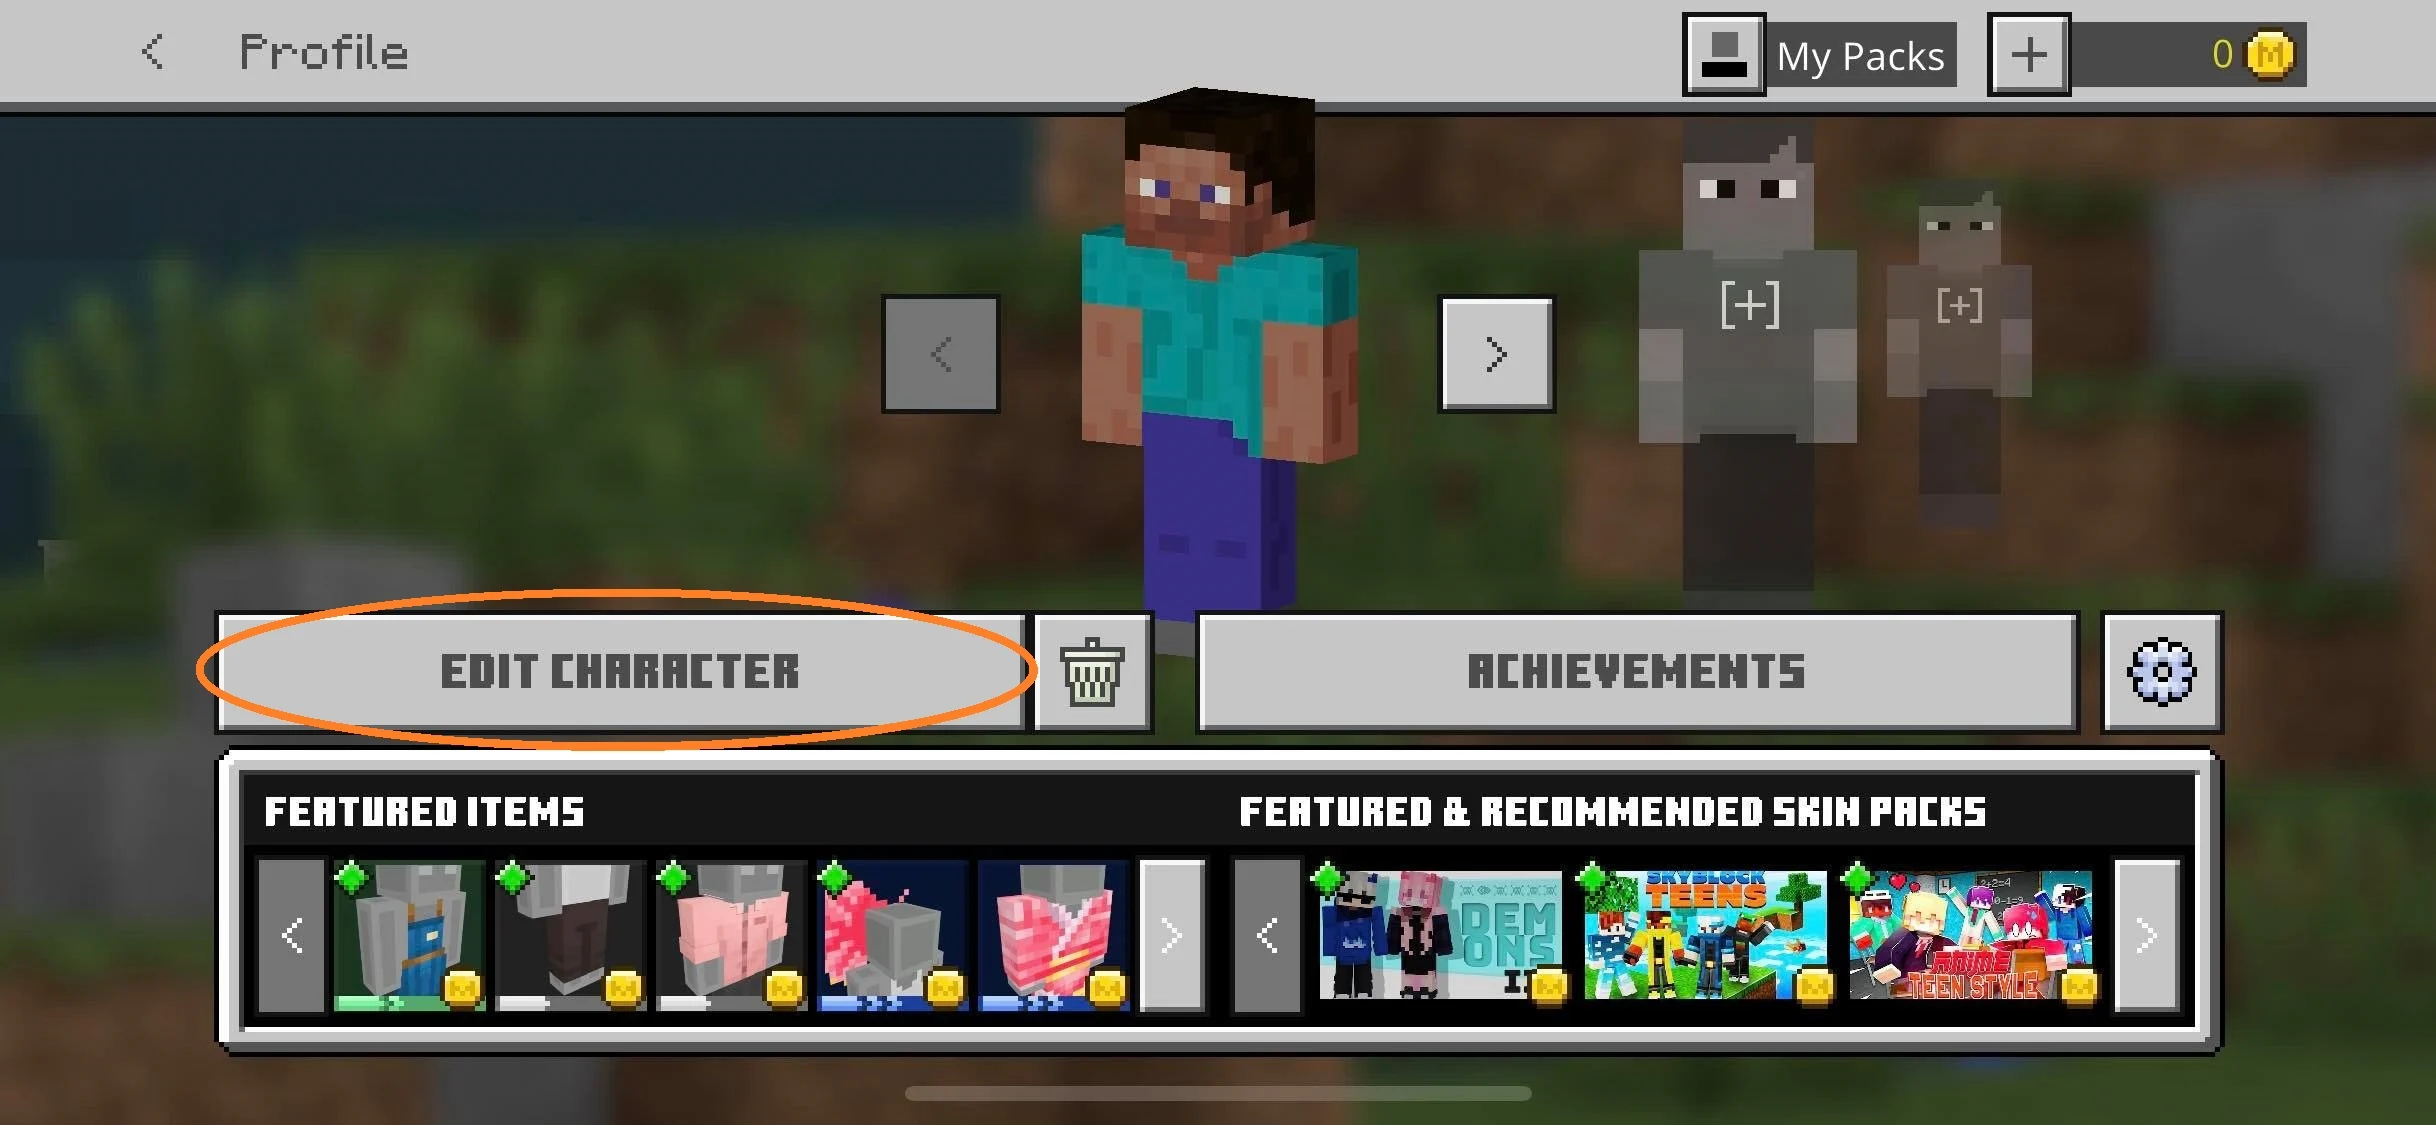
6. Tap on Edit Character
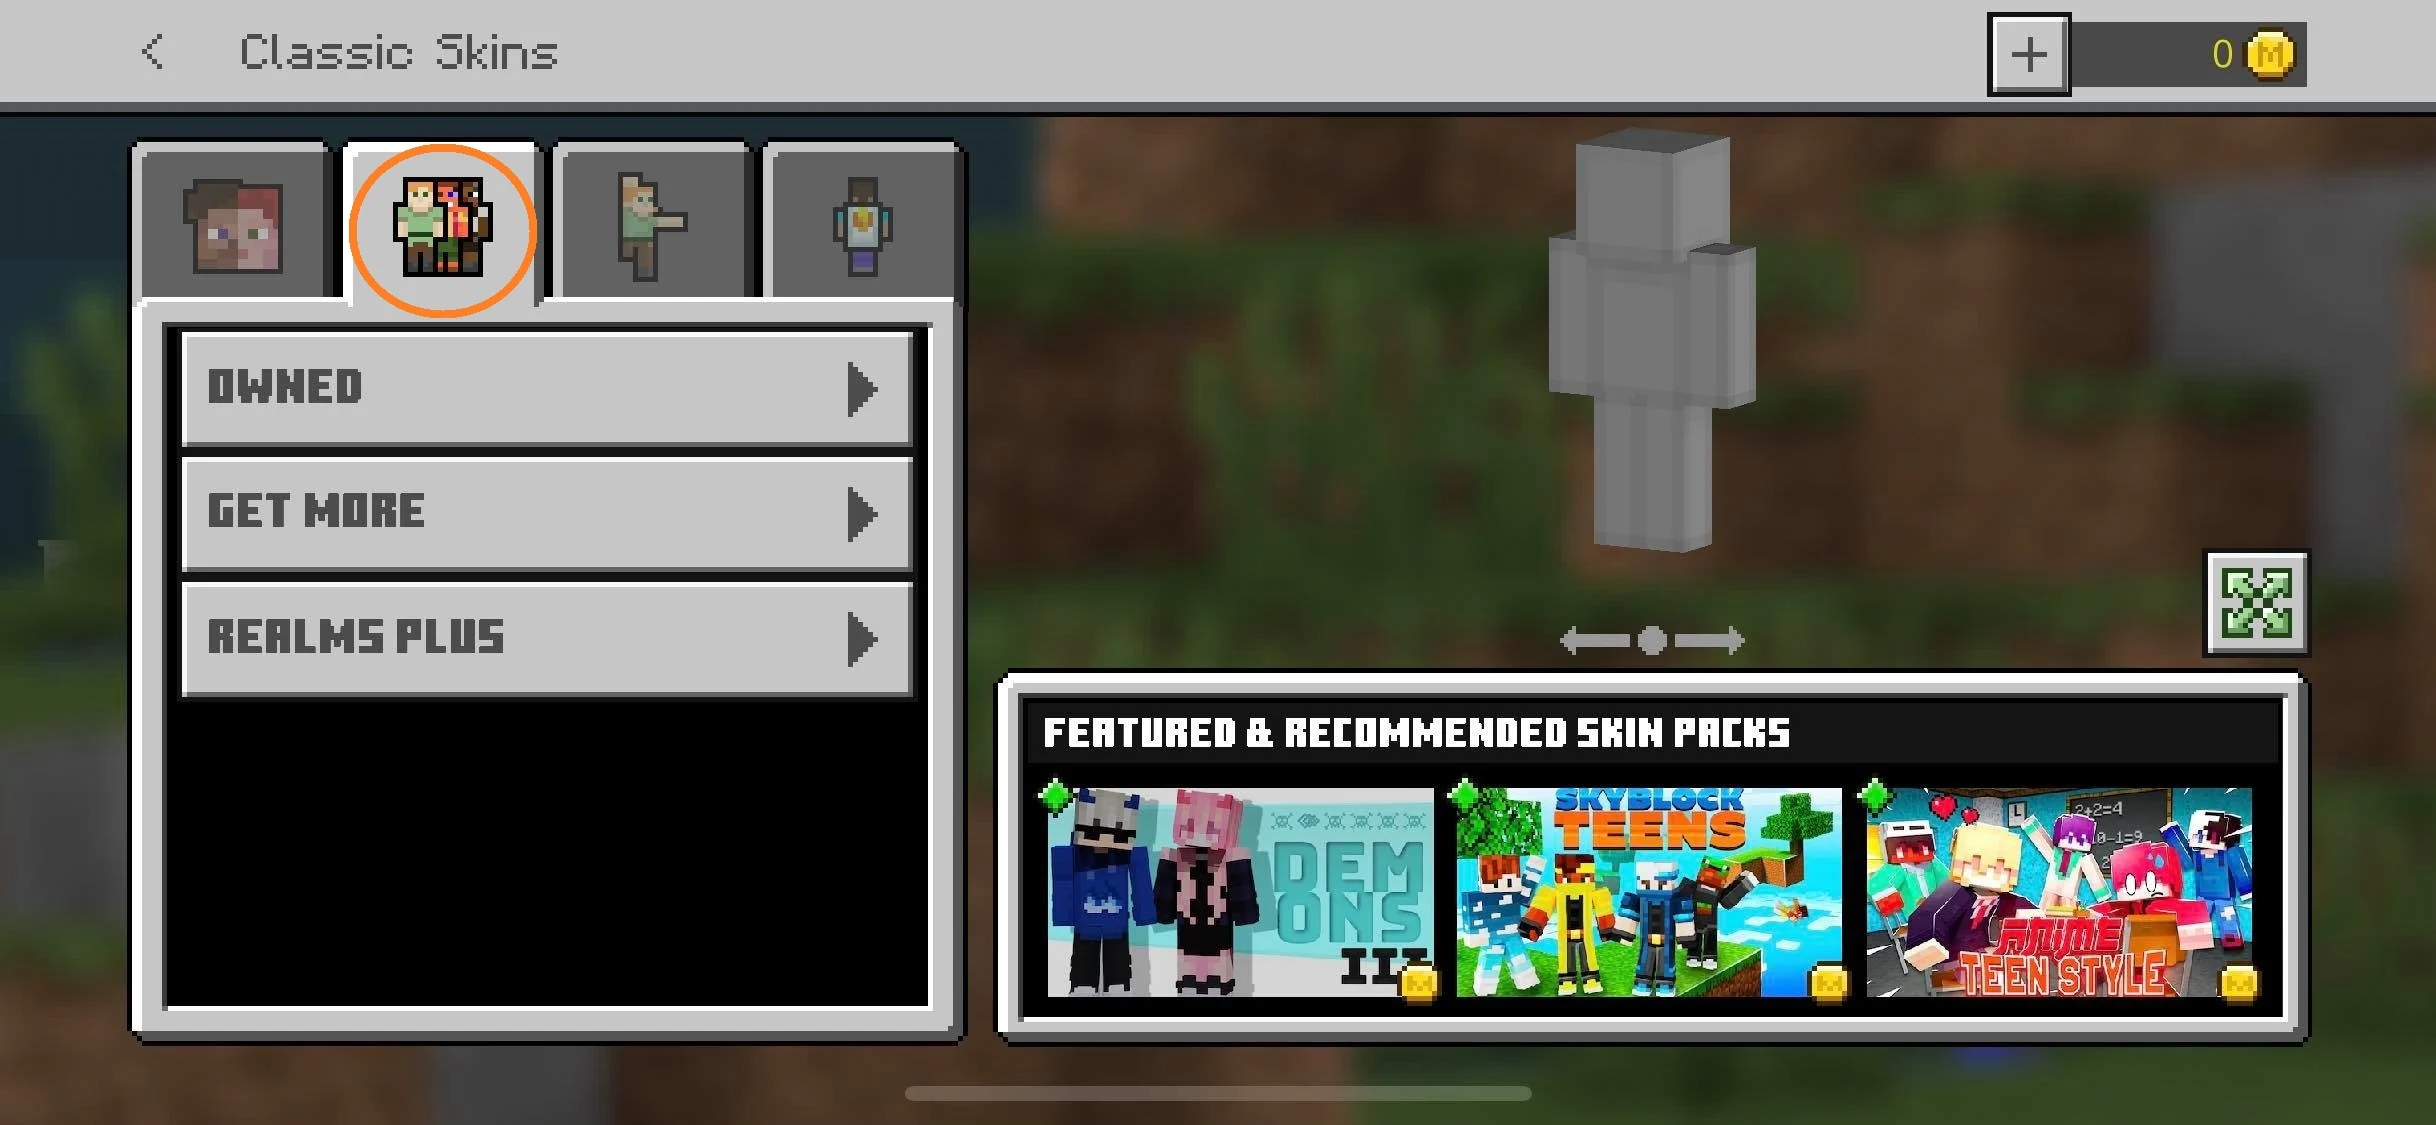
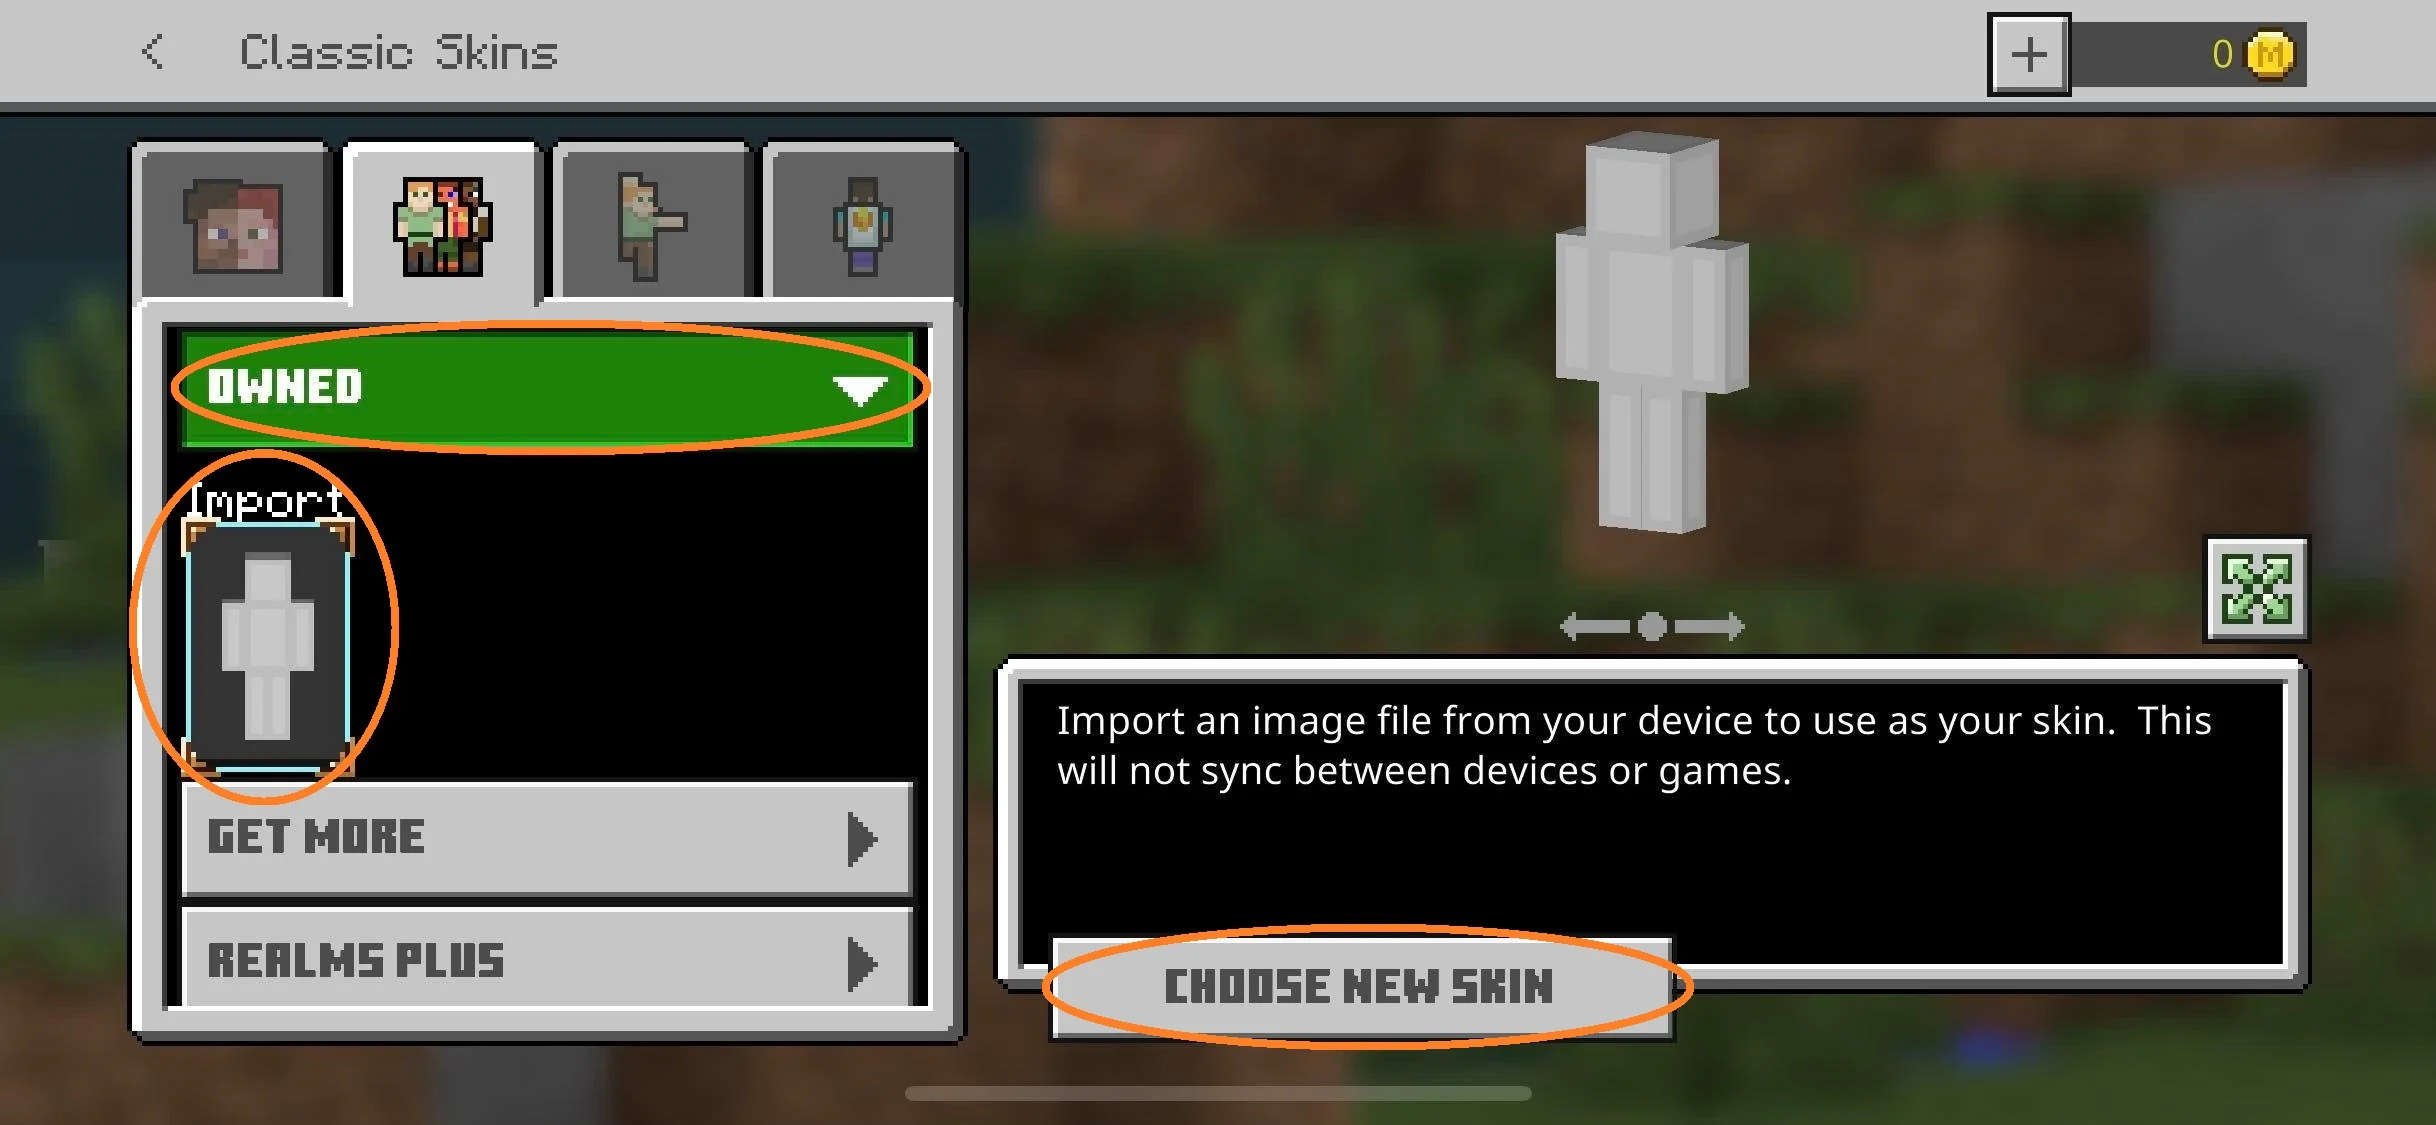
7. Tap on the 2nd icon to the left. Followed by “Owned”, “Import” then “Choose New Skin”.
8. Your photo album will open up for you to select the skin image you have just saved.
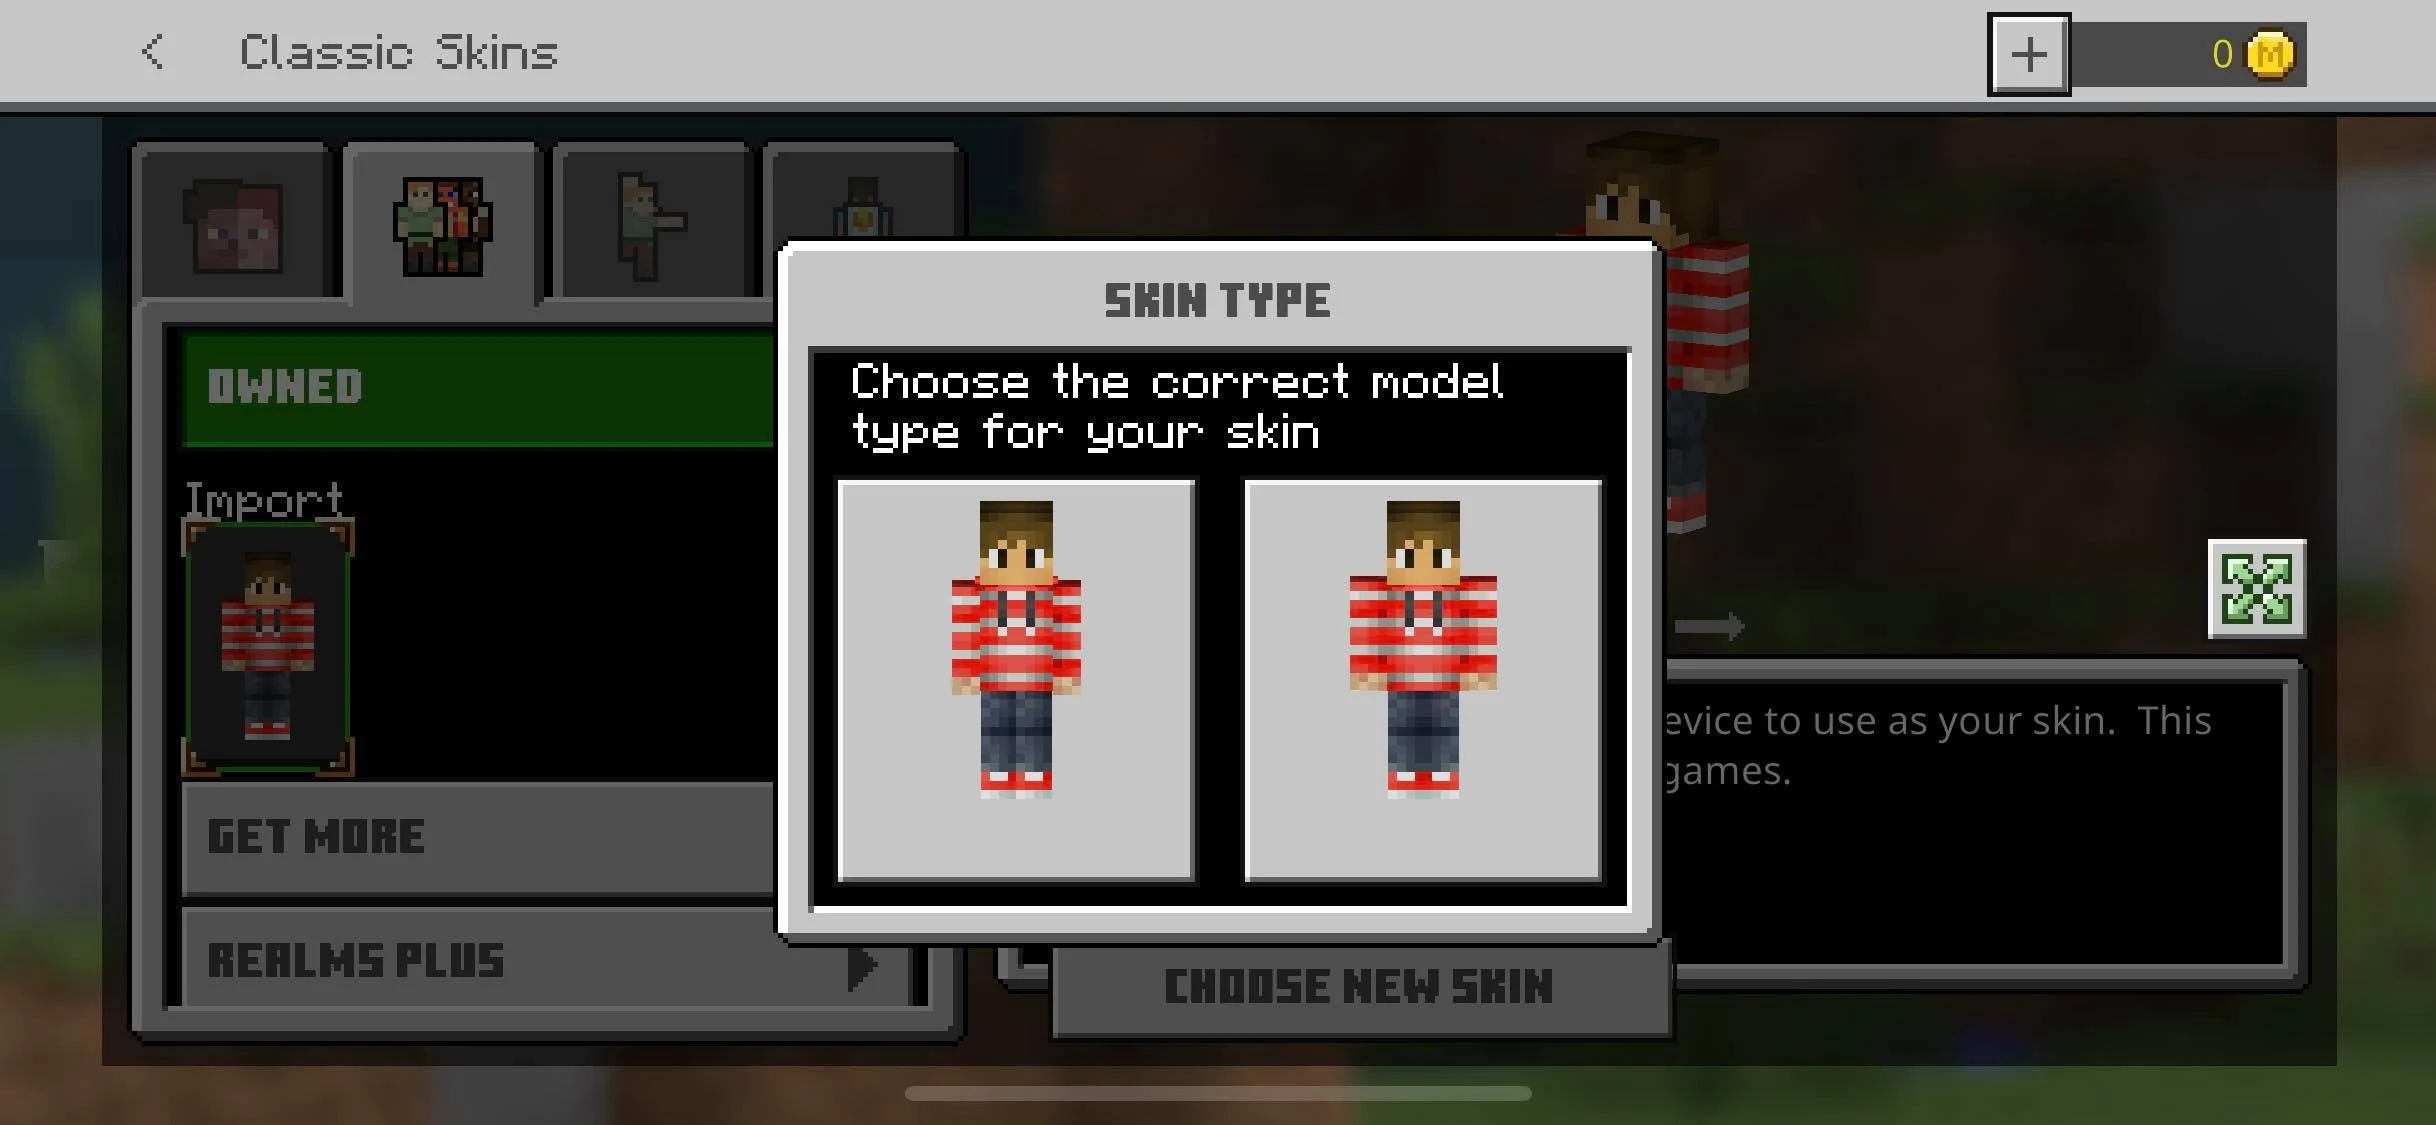
9. You will be prompted to choose between the 3px Slim on the left or the 4px classic on the right. Most skins are 4px classic sized, when in doubt always choose the one on the right.
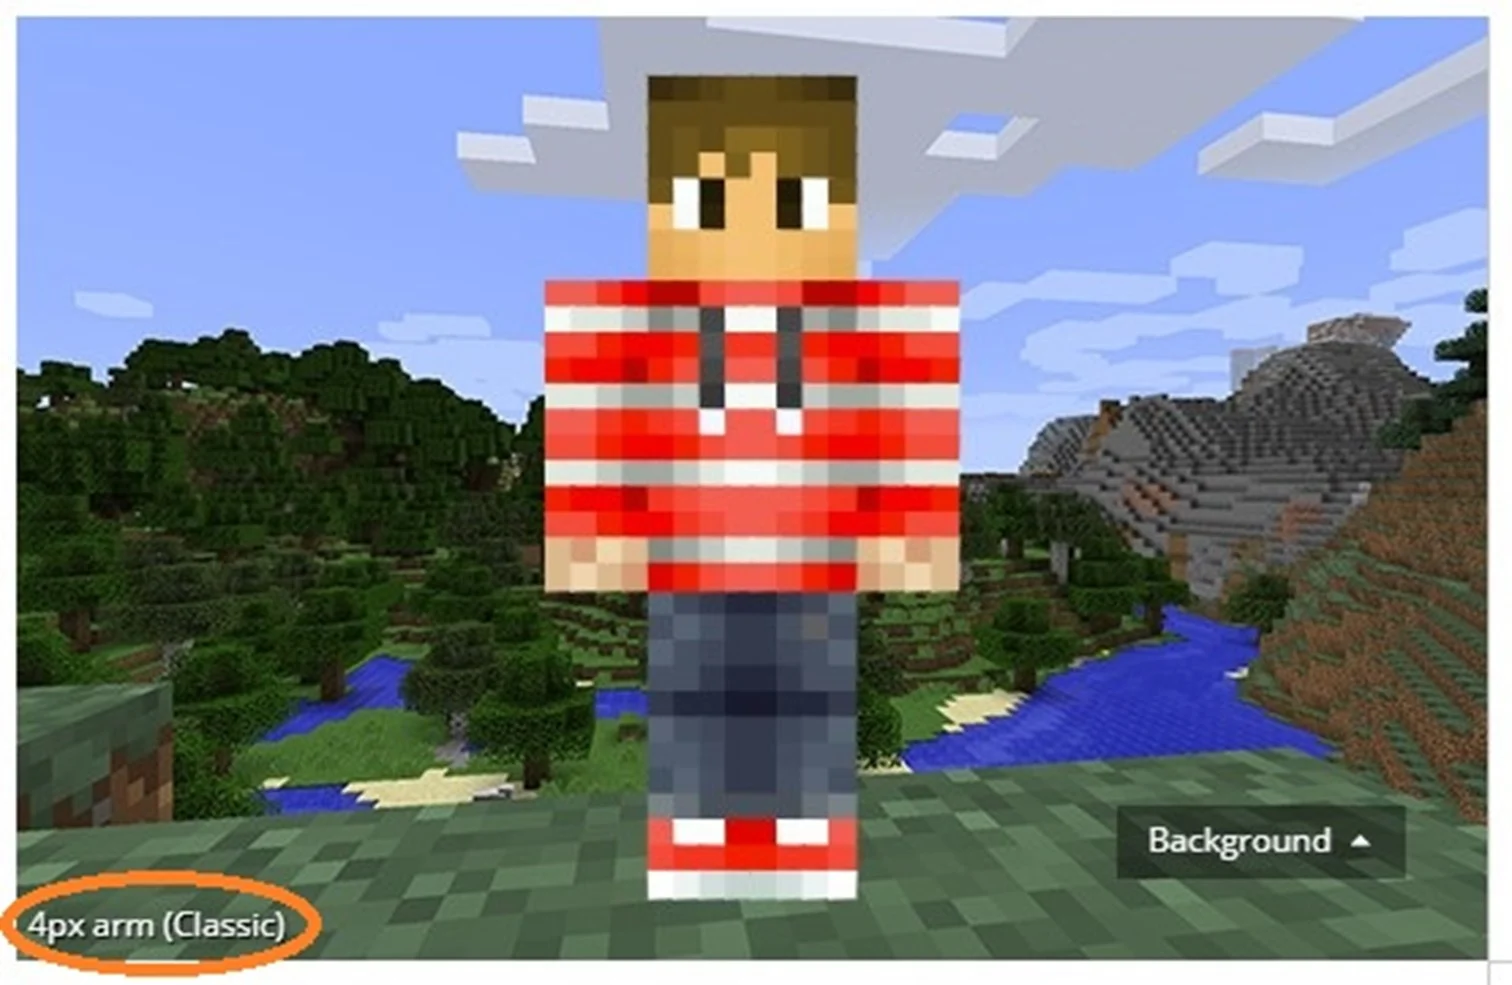
*You can find out which arm size is the accurate one on the Skin page where you first downloaded the skin. The information is located on the lower left corner of the 3D model previewer.
If you selected the wrong size, don’t worry! Just go back to step 5 and upload the skin again with the correct size.
Load up the game and you should be wearing your new skin in the game!
And remember!
You can change your skins as many times as you like!